
1. Download the installation file for your Windows version (x64 or x32) from our website. | 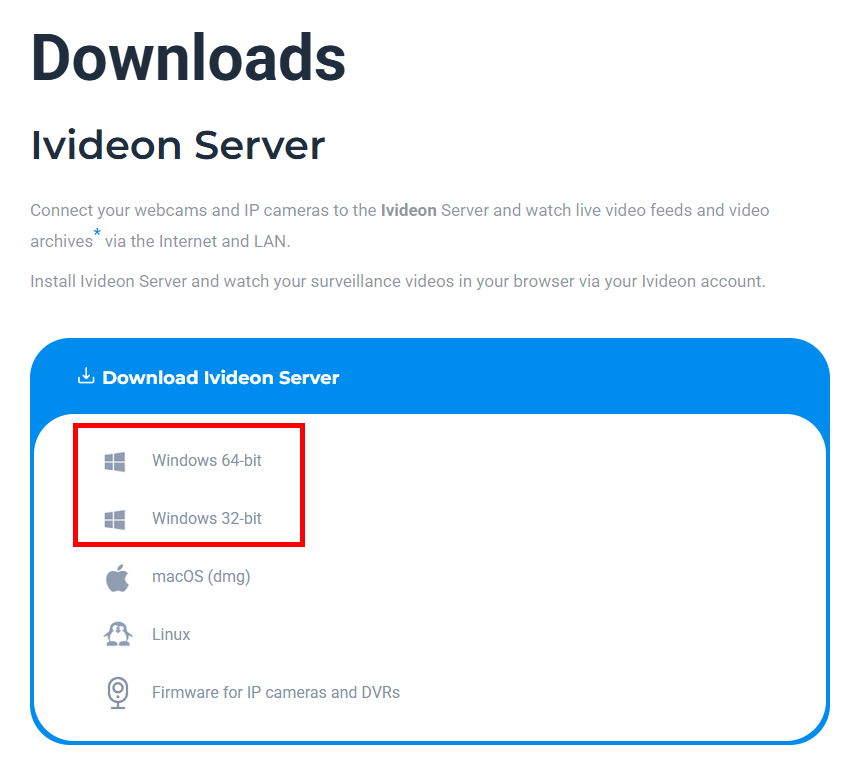 |
2. Run the IvideonServer_***_setup.exe file and click Next. | 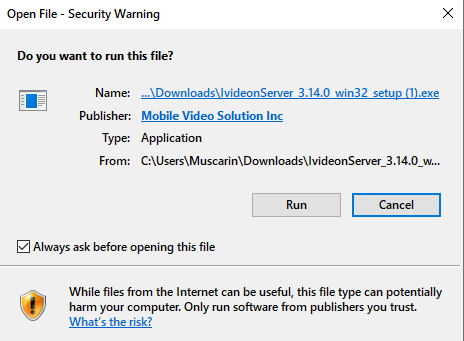 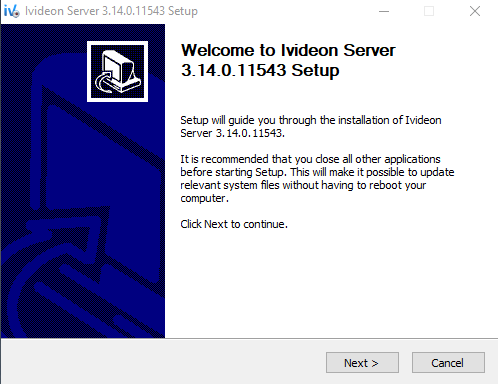 |
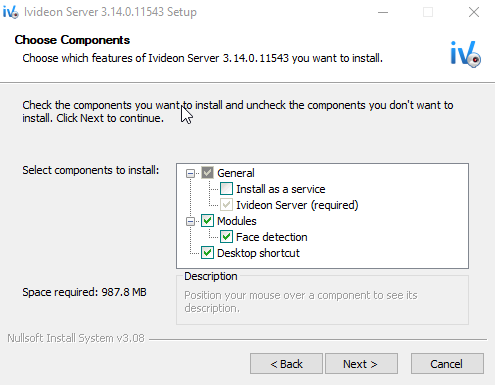
3. Choose the components to install and click Next. Ivideon Server can be installed in two modes: as an application or as a service.
|  |
4. Specify the destination folder for the application (or leave the default) and click Install. | 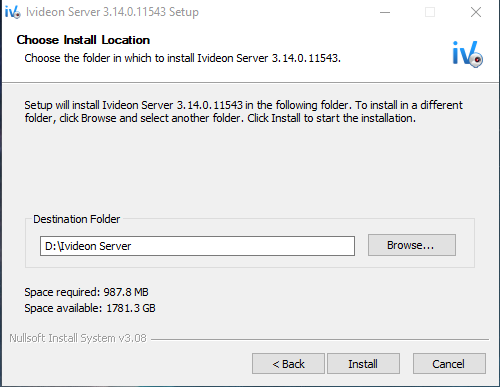 |
5. Wait for the installation to complete and click Finish. | 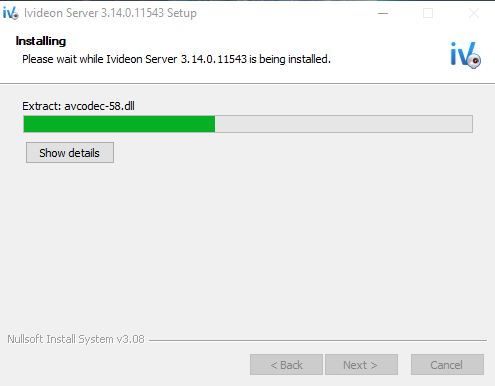 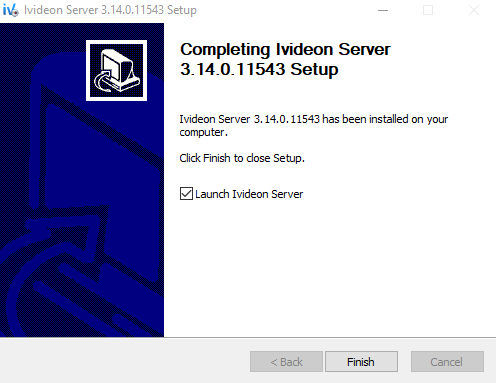 |
Downloading and Installing Ivideon Server on Windows
Last update: 24.04.2026Was this article helpful?