In case you already have all the required equipment for face recognition system and Business type of account, please follow these instructions.
Ivideon Server installation to a Windows machine
To install and configure Ivideon Server application properly, please use the following instruction:
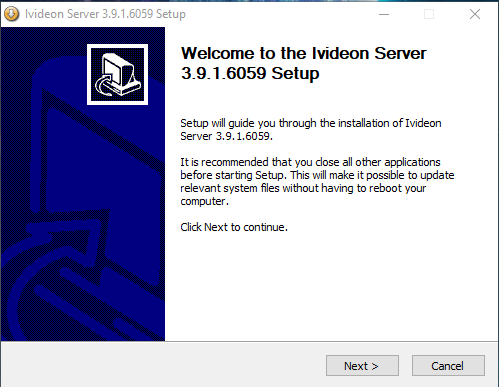
1) Download Ivideon Server application from ivideon.com website, Downloads tab. Please open this installation file on the PC, which will be used for face recognition, and click on Next button.
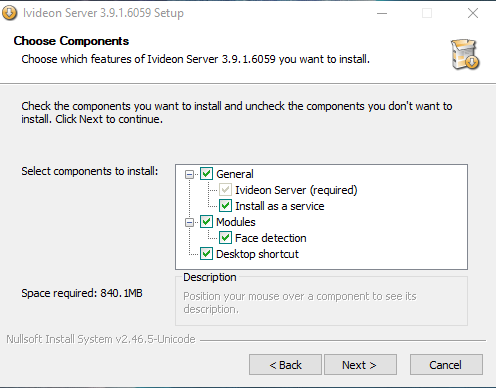
2) Check application components, which should be installed (by default all components are checked).
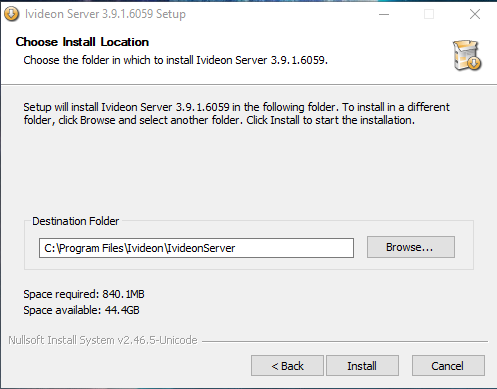
3) Choose destination folder for server's installation.
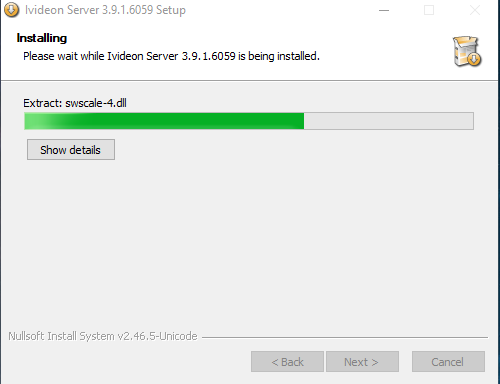
4) Wait till the application is installed.
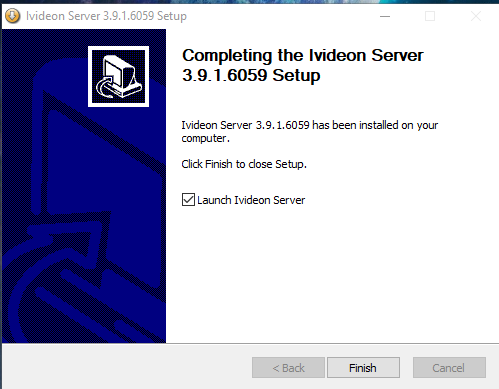
5) Click on Finish button and launch the application.
Once the server is installed, please connect your cameras to it according to the instructions from this article. Please make sure, that your cameras are available in your personal account, and you can get live-feed from them.
It’s also necessary to enable analytics modules for cameras. For this, get to camera’s settings tab in the server, open Analytics tab and check Enabled option.
Face recognition setup in Ivideon Server
Before you start configuring the system, please make sure that the cameras and the PC with the Ivideon Server application installed are connected to Ivideon service, the cameras are available in your personal account, and you can view their live feed. The instructions on connecting your cameras/DVR to Ivideon are available here.
Configuration of the face recognition system is done in the settings of each camera that is used for face recognition.
In the “Settings” menu of each camera, there is an “Analytics” tab.
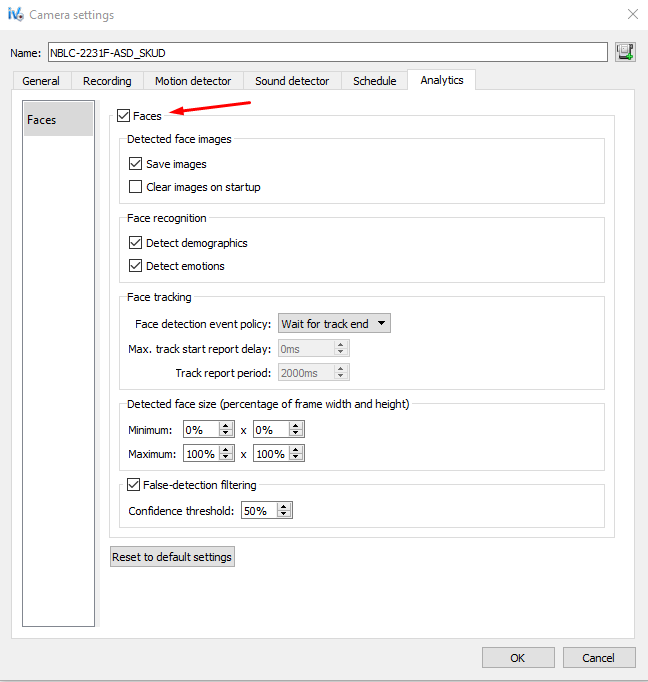
Here, you can find the following settings:
Faces –enable/disable the face recognition functionality for this particular camera.
Save images –local storage of the best shots (it is used for the troubleshooting of face recognition system issues).
Clear images on startup – delete the best shots after starting the Ivideon Server.
Detect demographics –enable the detection of demographic factors (gender, age).
Detect emotions – enable the emotions' detection (happiness, sadness, neutral, anger).
Face tracking – determines the way the best recognized shot will be chosen and sent to Ivideon.
Wait for track end – the best shot is selected and sent to Ivideon as soon as the face disappears from the frame.
Quick start report – the first best shot is the first recognized shot (it is sent to Ivideon). The second best shot is selected and sent as soon as the face disappears from the frame.
Periodical report – the best shots are selected and sent to Ivideon with a determined frequency. The frequency can be set up below “face tracking” bar.
Detected face size – min and max size for face detection in comparison with frame width.
False-detection filtering – quality of face detection images.