1. How do I connect a camera with a LAN port via Personal Account (my.ivideon.com)?
2. How do I connect a camera with a LAN port via Ivideon mobile app?
Before connecting the camera:
— Make sure the network you are using has internet access;
— Make sure that the camera connects with a power supply of the required wattage. Information about the necessary characteristics of the cameras’ power supply can generally be found in its instruction manual;
— Prepare the Ethernet cable you will be using;
— Write down the serial number and the MAC address of your camera. This information can be located either on the sticker on the camera itself (usually on the back side of the device) or on the camera’s packaging.
1. Connecting the camera via a browser
After logging into your Personal Account on my.ivideon.com, click the Connect device button:
Select the Camera option and the Via Ethernet cable connection type:
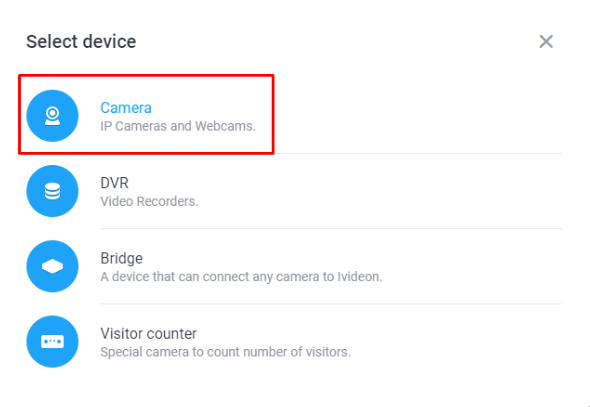
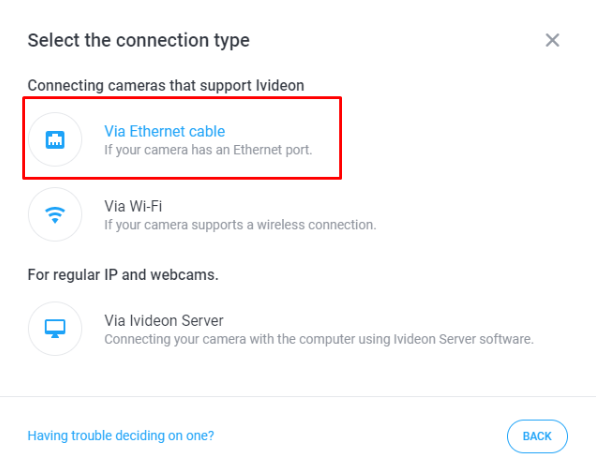
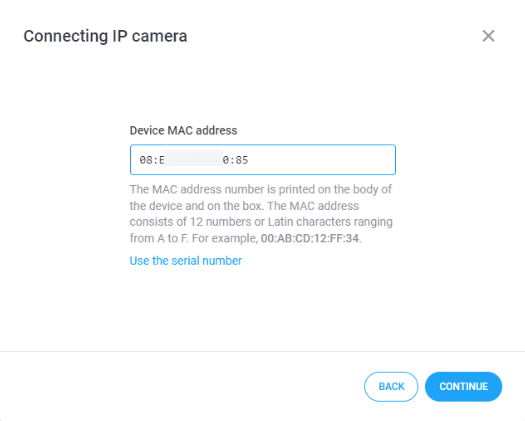
Enter the serial number of the camera (or click Use MAC address, and enter its MAC address instead), then click Continue:
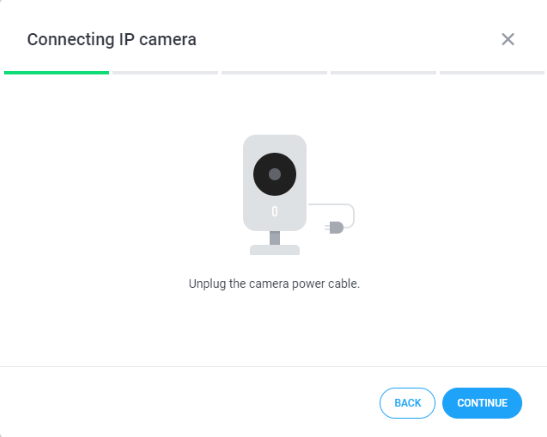
Unplug the camera power cable and proceed;
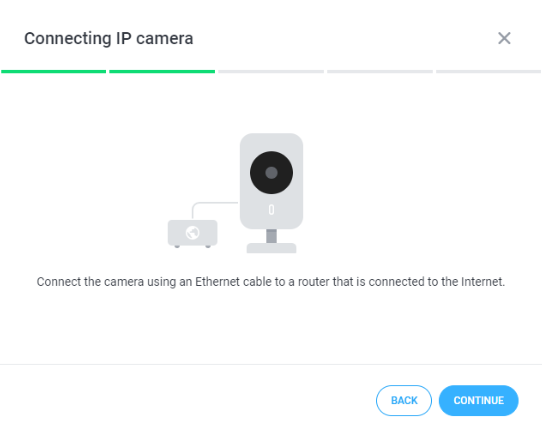
Connect an Ethernet cable from the camera to the router of your network;
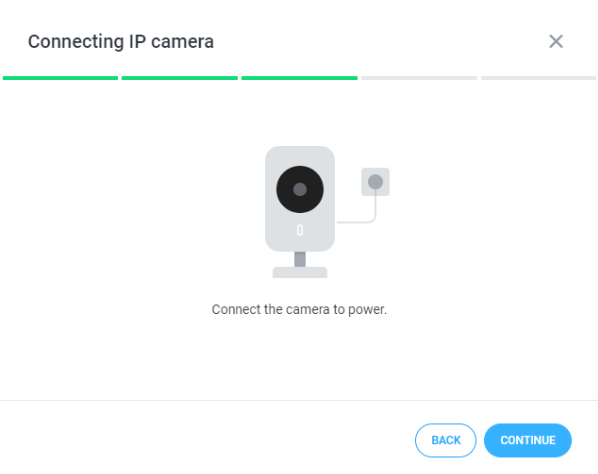
Re-connect the camera’s power and click Continue once more;
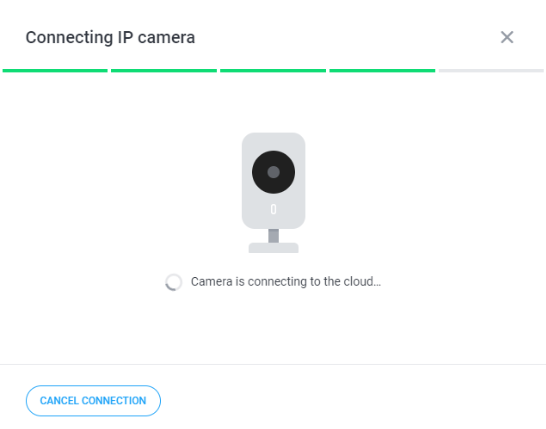
Wait while the camera attempts a connection to our cloud:
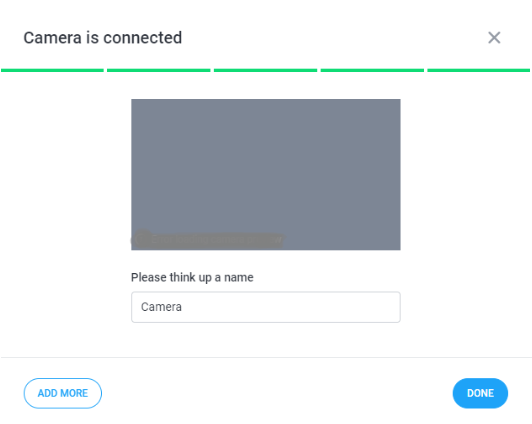
If the connection is successful, enter a name for the camera and click Done.
In case the connection fails or times out, please see recommendations from the Cannot connect a wired camera using its MAC address/serial number article.
2. Connecting camera via the Ivideon mobile app
Install the Ivideon mobile app for your Android or iOS device by downloading it from Google Play Store or Apple App Store;
Ensure that your device is connected to the Wi-Fi network which you are planning to use for the camera’s connection;
In the Ivideon mobile app, log into the account you want to link the camera to;
Pick the Menu tab in the lower right corner of the screen and select the Connect device (or Add camera) option:
Select the manufacturer of your camera and then its model from the list that opens. If you do not know the model (or the serial number) of your camera, some brands of cameras like Nobelic have a sticker with a QR code that you can scan instead. When you scan it, the model and the serial number of the device will be detected automatically.
Confirm the model of the camera by clicking Next, then, in case the serial number was not found by scanning the QR code, pick an option to input it manually:
After entering the serial number, please follow the rest of the instructions of the setup wizard given on the screen.
In case the connection fails or times out, please see recommendations from the Cannot connect a wired camera using its MAC address/serial number article.